the story behind the red clay...

If you follow me on social media, you know that my last month or so has been consumed with transitioning from white clay to red clay. It seems every social media post is about the clay color switch. So you may be wondering, “so she switched clay colors, what’s the big deal?” Well, it’s been a big deal, and for so many reasons than just color. It’s hard to get into such an explanation in an Instagram post or a quick email newsletter, and a lot of you may not be interested in the details at all, and that’s totally understandable (but you may want to stop reading after this sentence). But for those of you who do want to know what all the fuss is about, here’s a brief delve into what I’ve been working on for the past two months and why it’s such a difference for the direction of h.made. So, here we go!

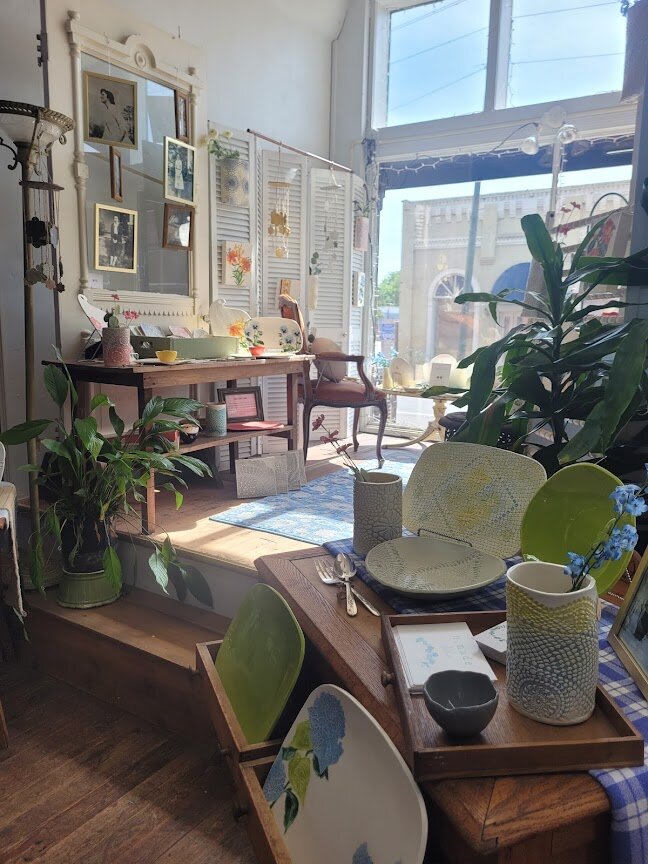
Since the beginning of h.made in 2017, I’ve always used low-fire clay for all of my work. This means is it’s not fired to as high of a temperature as high-fire clay, which is stoneware (picture kind of a stone tan or brown ish pottery that’s kinda freckley…all stoneware potters who may read this will cringe big time at this description, which kind of gives me the giggles as I write it). Low-fire clay is what I’m most comfortable with. It’s what I’ve always used in my teaching classroom, it’s what I’ve put years of work into learning and understanding, so I felt most comfortable continuing to use it for my work when I began this little business. I originally chose to work with white clay because my early work (the detailed tiles, the florals, etc.) relied heavily on glaze and color detail, which are much brighter and colorful on a white clay body. I’ve experimented a few times with high-fire clay over the past few years, but quickly realized I was way out of my lane, if you will, so I stuck to what I knew—white, low-fire clay.

At this point, picture a four-year, time-lapse set to lovely music of me, happily using white clay and making in the studio. As the end of 2021 approached, I started to have real difficulty finding the white clay I’d always used. It wasn’t just my supplier that was consistently out of stock, but I exhausted several other resources, as well. Some of you may remember that I limited the number of Christmas preorders because I had a genuine fear I’d run out of clay before I could fill them. I’d hoped this shortage was just a result of busy potters at Christmas, that things would surely catch up and “return to normal” (that phrase is something I’m ready to be rid of, ammiright?), but even well after the holidays, the scarcity of white clay was actually even worse than before.

Since I’m a teacher, the end of the school year/beginning of summer felt like a great time to make this transition. I ordered up 25 lbs of red clay to try before fully committing to a specific brand or clay body, and dug in. Just a quick background into what this looks like in the studio—it means cleaning every tool, board, form, template, lace, surface, etc so that the remaining white clay didn’t get into the dark red clay. After all the cleaning, the actual production process was surprisingly great. I liked how the red clay worked and handled even better than the white. But I still wanted my work to have a similar look, so enter something called slip. Basically clay mixed with water, slip can help join clay pieces or be used in decoration. So once I made the red clay pieces, I then painted over them with white slip. I hoped sanding some edges would help create an aged or patinaed look with the red clay showing through, which sounds simple enough. But figuring out the timing of when the red clay was dry enough to add the wet, white slip so that it doesn’t smear the red clay but not too dry to crack the red clay by adding moisture to dry clay, but also not letting the clay dry enough so that when I tried to sand the edges, pieces didn’t break, and whew! Throw in the differing levels of humidity in a Georgia summer, which affects drying time, and I started to realize this was more than just a clay color switch. This was a steep learning curve!

Things were progressing and after many, many broken scrap pieces, I thought I had things figured out. Then came the firing process. Without getting into a long, boring description of kiln firing temperatures, just know there was at least two kiln loads (about 1-2 weeks of work) where pieces were all cracked and warped (basically melted) and lots of crying jags standing at the kiln (I’m still not quite recovered, making one of my daughters or husband open the kiln after a firing to look in, as I don’t know that I can handle that again). Thankfully, I’ve started heading in the right direction with the right glazes and the right firing temperatures, and the past few loads have been exactly what I’d hoped for. I’m learning more each day about the timing of the making, applying the slip, sanding, and drying. I would love to wrap this up with “all is well, I know exactly what I’m doing, things are perfect! But that would be far from the truth. I’m constantly learning more about this process, and probably always will.

Why do I want you to know all of this? Because I value authenticity and I assume y’all do, as well. Social media can present a really shiny front, making things appear great. I’ll have people come up to me and say very kind things like, “you are killing it, lady!” when I know that the day before I was crying and smashing warped pieces from the kiln into the trashcan with my family looking on like I had lost all good sense. I want you to know the lows and the middle of me figuring things out so that when I’m on a high of things going just right, you’ll know that’s definitely not the case all the time. I also value when other small businesses are transparent about the hard steps taken to make things work well, so hopefully, this will do the same for someone. But if I didn’t want to tell y’all my story through pottery, if I didn’t value giving you my best, or making pottery you connect with and that you want to give as gifts or have in your home, I’d have given up a long time ago. It’s y’all’s encouragement and support of this little business that gets me back in the studio after something goes really wrong, so thank you all so, so much for sticking with me over the past 5 years, and I hope you enjoy the look of the new work as much as I do.

the story behind Sunday suppers...

When my husband and I chose to move from Franklin County to Athens 7 years ago, it wasn’t the favorite decision we’d made in the eyes of our families. We are both fortunate enough to say we grew up in small towns that are a part of the same county, and if you’re from a small town, you know what this means. If you’re not, it means that you live within 5 to 10 minutes drive of your parents, aunts, uncles, cousins, and closest friends. It means you attend church with and work with the same people who you’ve known since you were all in kindergarten together. It means that there’s not one stop on your errands or one dinner out that you won’t run into people you know, and know well. Side note: this is not at all to do with why we moved—in fact, these were a lot of the reasons we considered not moving—I just wanted to make sure it’s understood just how much we both love where we’re from. I say all this to try to convey just how big of a deal this move was to our families. We both saw our parents once, sometimes several times a week and it wasn’t uncommon for them to drop by to see our girls on their way home from work or on their way to this and that. So when we moved, we promised my parents that we’d have a standing supper date on Sundays. There’s been an occasional missed Sunday over the years for various conflicts but I can honestly say that 7 years later, there have been very few Sundays (I could probably count them on both hands) that we haven’t had them over for supper, but mostly, driven back home for supper in their home.

I’m going to be super honest, sometimes after a busy week or weekend, it’s hard to commit an afternoon and evening to the drive back home, supper, then back to Athens which, for most of the year, is a on a school night. But to do this gives my girls an opportunity that many can’t say they have—to see their grandparents regularly and to truly know them, to find letters and photos from my friends and high school sweetheart (now their dad) in my old bedroom that’s pretty much the same as when I left it, to play dress up in my old clothes and costumes, and to share a food, laughs, and conversation with their family each week.

When I needed website and social media photos for new plates and patterns, I was struggling with how to best show the pieces in photos because no matter how I set the photo up, something was missing, so I decided to load them up and bring them with me to this week’s Sunday supper. I’m usually in charge of dessert for our meals in Franklin County, so I thought we’d use the new plates for our dessert and I’d try photos then. I made buttermilk lemon scones (buttermilk pie is usually my default, so if you like that, then these are the best of buttermilk pie in scone form—see recipe below), we spread out a blanket in the shade in the front yard like my mama always did with my girls when they were babies, and we had our Sunday supper dessert while I took photos. The resulting images were just what the previous photos of the plates had been lacking—the people who’d use the plates and the experience of eating together. I love the images I have as a result, and I guess I just wanted y’all to know the hands, place, and people you’ll see in future posts because they aren’t just a part of my story, but the whole fun, messy, sometimes crazy, loving, thing. So whether you’re into scones while you catch up on your favorite Netflix series or want to serve them at your families’ version of Sunday supper, the recipe is below!

Buttermilk Lemon Scones (original recipe courtesy of The Unlikely Baker)

1 1/2 tbsp of lemon zest

1/2 cup of sugar

3 cups of all purpose flour (cups packed tight, then sifted)

1/2 tsp of salt

2 1/2 tsp of baking powder

1/2 tsp of baking soda

1 stick of butter, frozen then grated

1 cup of buttermilk

Mix lemon zest into sugar, then add flour, salt, baking soda, and baking powder. Next, mix in frozen, grated butter until little balls of dough form around the butter. Make a well, add in the buttermilk, and mix until all moisture is incorporated. Flour your work surface and pat the dough out about an inch thick. Either cut into traditional scone triangles or use a cookie cutter to cut scones out to place on a lightly greased baking sheet. Bake at 400 degrees for 10-12 minutes or until golden brown. You can make a glaze with one cup of powdered sugar and 1/4 cup of lemon juice to add when scones have cooled. Let me know who you share your scones with—enjoy!

20190519_185218.jpg

an h.made update story

Last December, I promised myself that I would give creating and selling my work an honest try. I felt I had a clear idea of what I wanted to make and the why behind what I made, and so h.made studio was born. A little more than a year has gone by and my intent and purpose behind h.made is even clearer than when I began, but this clarity definitely came as the result of a steep learning curve.

I’ve known from the start that I wanted my work to portray images and details of the places I’ve experienced that have made me who I am and made my story full and mine. However, as my friend and fellow maker Bonnie Kaye Whitfield discussed in a recent post (click here to read—it’s empowering!), no one in art school prepares you to sell your work. I noticed when I began trying to make my work appeal to as many people as possible rather than stay true to what I wanted to create, my work was not as strong because I couldn’t clearly voice the “why” behind what I’d created. I was looking to how well my work sold to validate why I was making, rather than having confidence in my reasons for making. This misdirection led to lots of doubt over the last year and often wondering if I’d made a mistake to try to sell my work.

As my the first year of h.made studio wrapped up, I’d find myself word-vomiting when people would ask “how’s h.made studio going?!” Bless their hearts, they were usually considerate folks asking a rhetorical “how are you?!” type question, but what they got was an earful of literally how h.made was going. I would ramble on about how I’d learned a lot about what it was I enjoyed making and how I’d realized how important it was to me to be able to voice a purpose and story behind each piece to be able to feel proud of it and stamp it with the final “h.made.”

I realized these rambling responses to the “how’s h.made going?!” question were really me convincing myself that it was okay to stay true to the purpose behind h.made pieces, and to value those who share the same love of story and place. It’s like I was explaining my work to myself as if I were someone seeing it for the first time, like I needed to hear the reason I need to create and share my work over and over before it actually sank in for me. It’s these conversations that helped me clarify how I hope to move forward with h.made. I understand now that I don’t constantly need to create new things, that there is a loyal audience for the things I already make, and there are people who connect with my love of story and place. Is this to say I have it all figured out and everything will be awesome from now on? Nope, not even close, and I’ll probably need to reaffirm all of this by the end of the week!

I was talking to a friend while writing this post, and I loved what she said so much that I had to include it. She said she bought a piece of pottery while traveling in Romania because the piece had a story behind it, and things that have a story are more interesting and personal, which is why she doesn’t shop at Kirklands (just an example) because mass-produced pieces have no story (no offense Kirklands, but it’s true). I’m learning that people who purchase handmade pieces value authenticity and consistency of brand, and that is exactly what I hope to do—to stay true to communicating my story, creating work that others can relate to their story, and being proud of what and most importantly, why I make.

Window to Rome, an h.made tile inspired by the stained glass windows of my favorite place to stay in Rome, Italy.

Window to Rome, an h.made tile inspired by the stained glass windows of my favorite place to stay in Rome, Italy.

the story behind the process

Over twentyish years have gone by since I first took an art class, and a lot of things have been painted, carved, printed, collaged, thrown, slabbed, coiled, water colored, photographed, developed, sketched, and drawn before arriving at the processes I use now.   Being an art education major allowed me the freedom to take classes in painting, drawing, ceramics, printmaking, photography, even fabric design, and now a current high school art teacher, I still work in many of these processes.  I've always loved little bits of each method, but never the full process of any. 

Clay has been my favorite since college.  I love the meticulous hand building processes and even throwing on the wheel (even though I'm not very good at the latter mentioned). The first tile I made was a product of playing around with left over slab scraps from a demonstration I'd just had for my pottery students.  I began assembling sides to a square slab and once complete, it reminded me of a little painting canvas.  I ordered white clay suited for tile work, and I became hooked to the process.  Confession:  I really like to be in control in all situations, so there's something very gratifying to me to be able to hand make the entire surface I will eventually carve and paint.  As I carved and glazed the first tile, I knew I'd found the exact process I wanted to work in.  I've always enjoyed the tediousness and texture found in carved linoleum or wood, and color is what I love about painting, so why not use my clay as my surface to carve into and play with color? 

As people have asked me why I don't sell my art, I've always used the excuse of "well, I don't really feel like I've found my "thing."  The beginning of h.made studio was a result of not being able to use that excuse anymore.  After years of making, it's become clear to me that the clay tiles that I create are a coming together of parts of the processes that I love, while sharing images of little parts of places that make up my story.  

hmade 300dpi-0102.jpg

the story of place

I've always felt a connection to place.  When I think back on times that have been special to me, there's always a specific place associated with these moments.  Almost like a flip book of quick glimpses of all I've experienced, these places have created what is my home, as in the definition of home as "a place where something flourishes, is most typically found, or from which it originates."  Every place is made special by a person, people, or experience; basically, the place tells a story of me.  

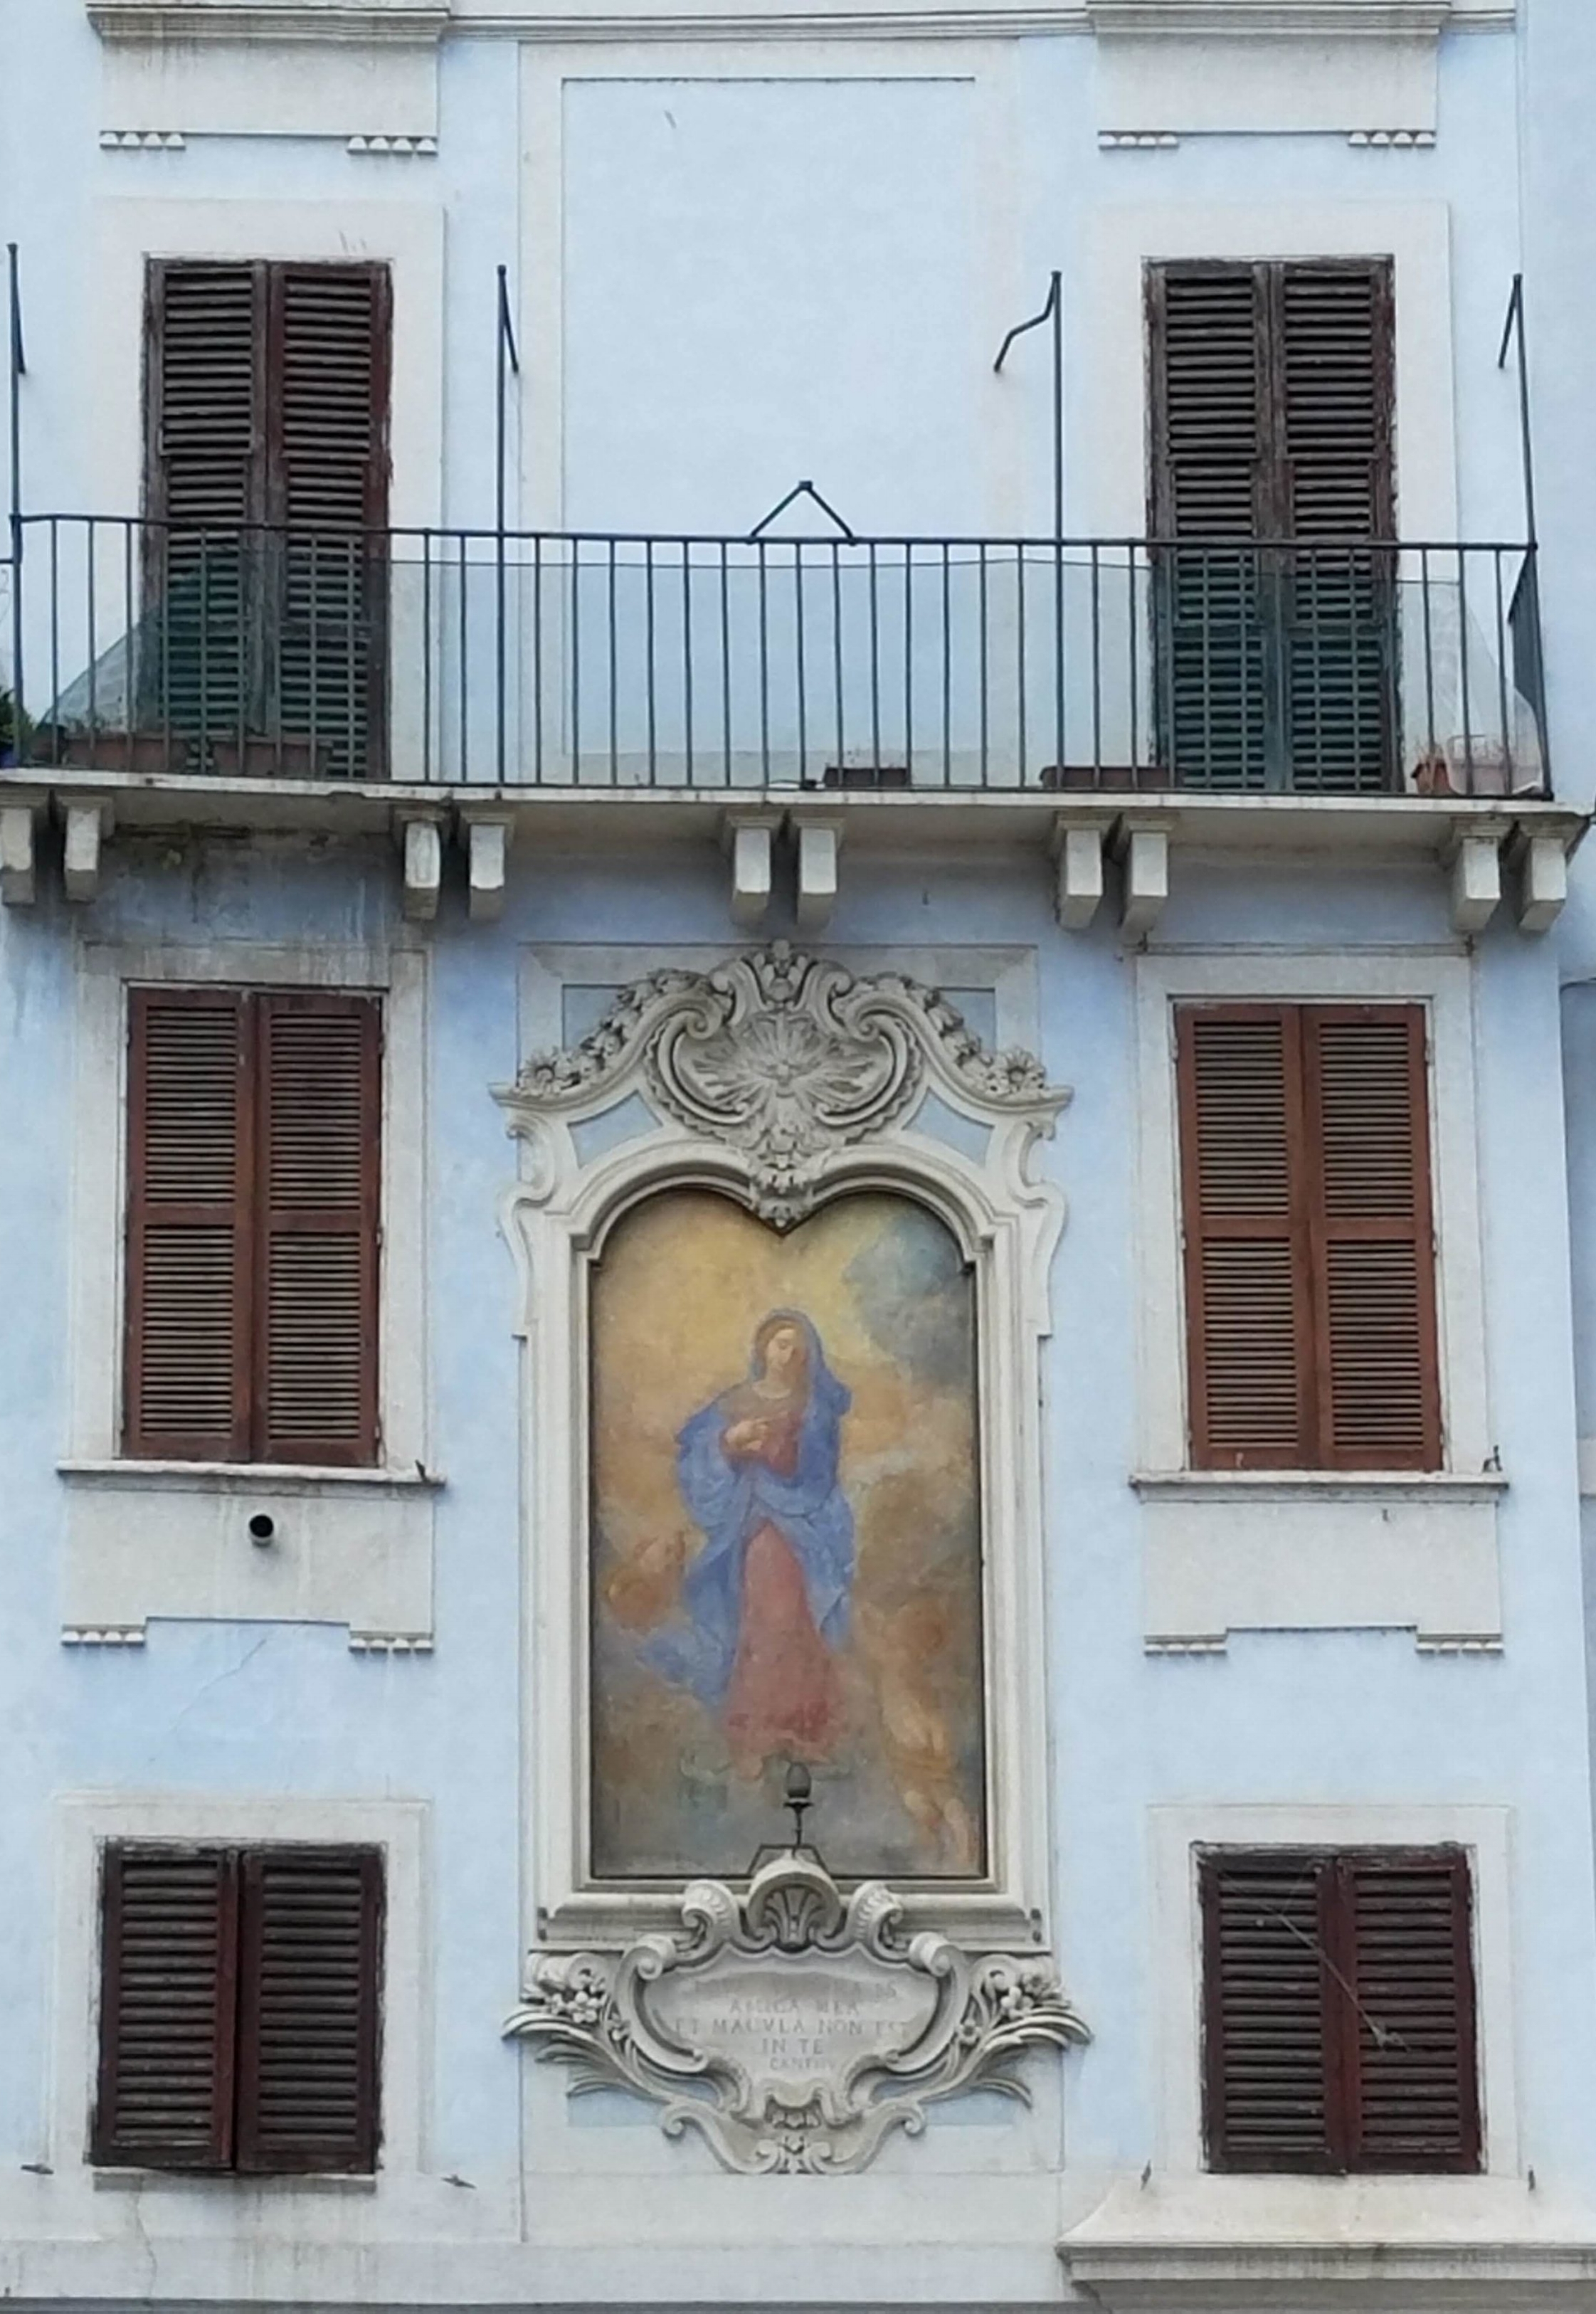
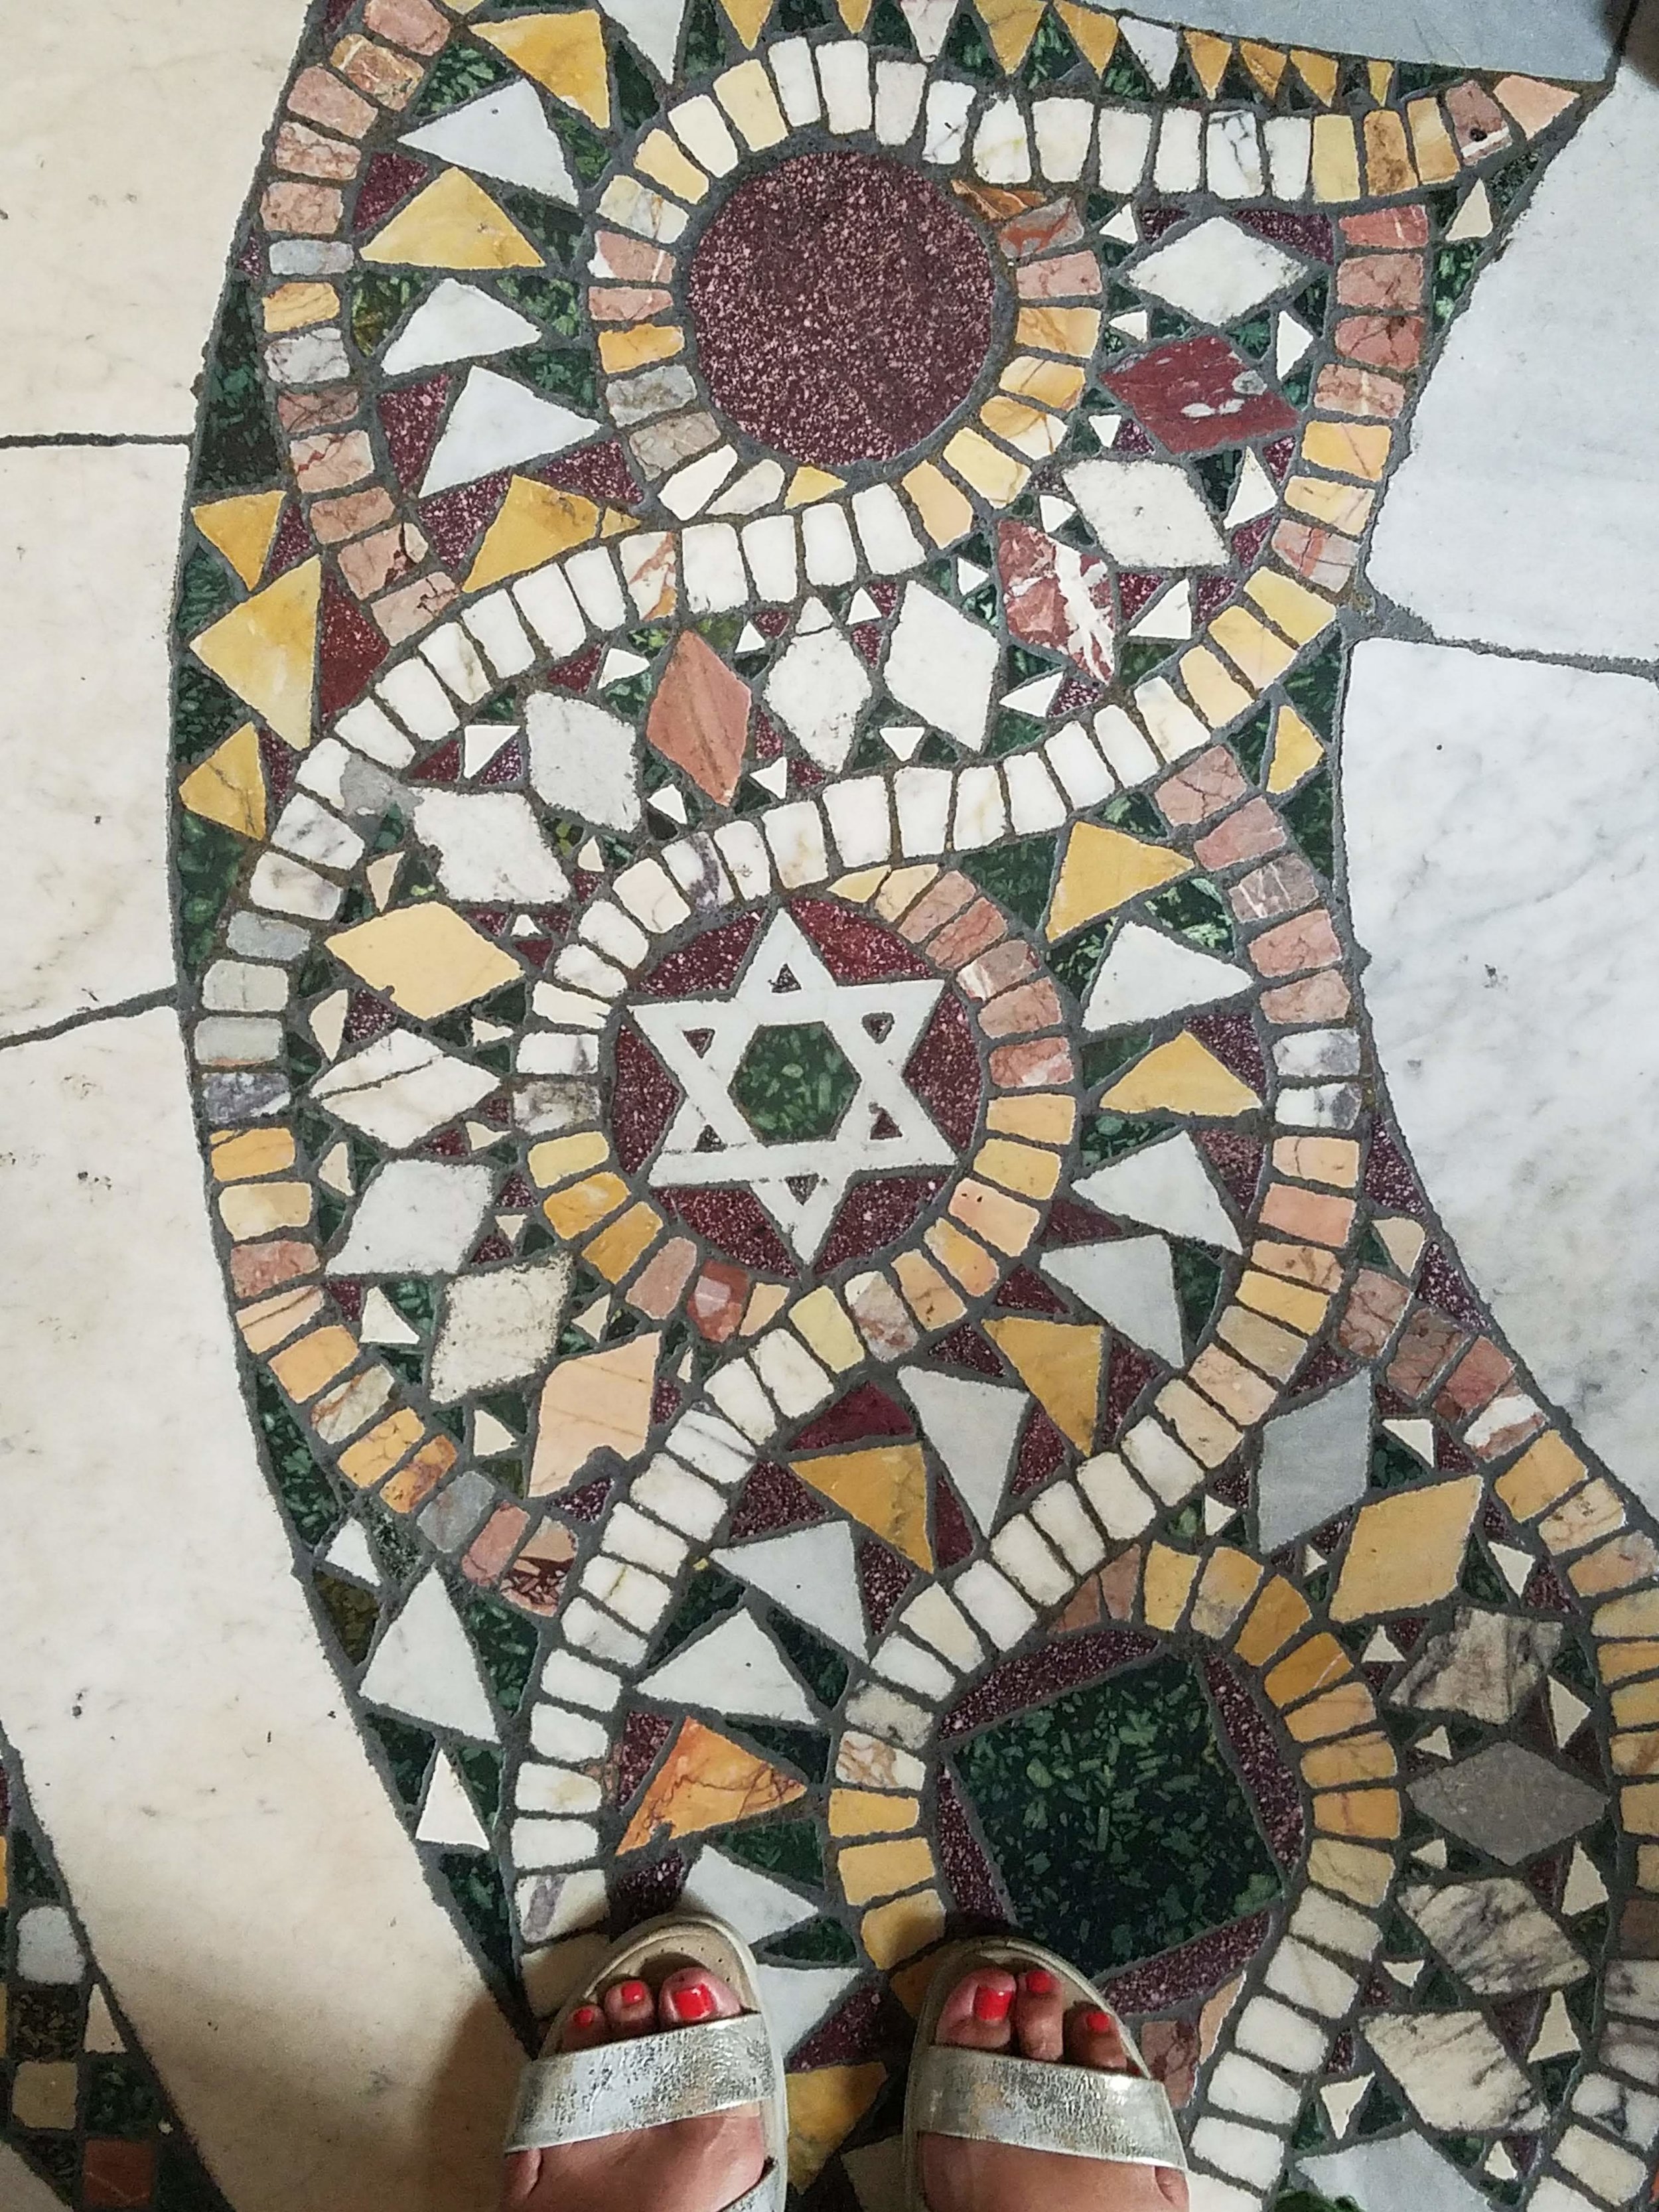
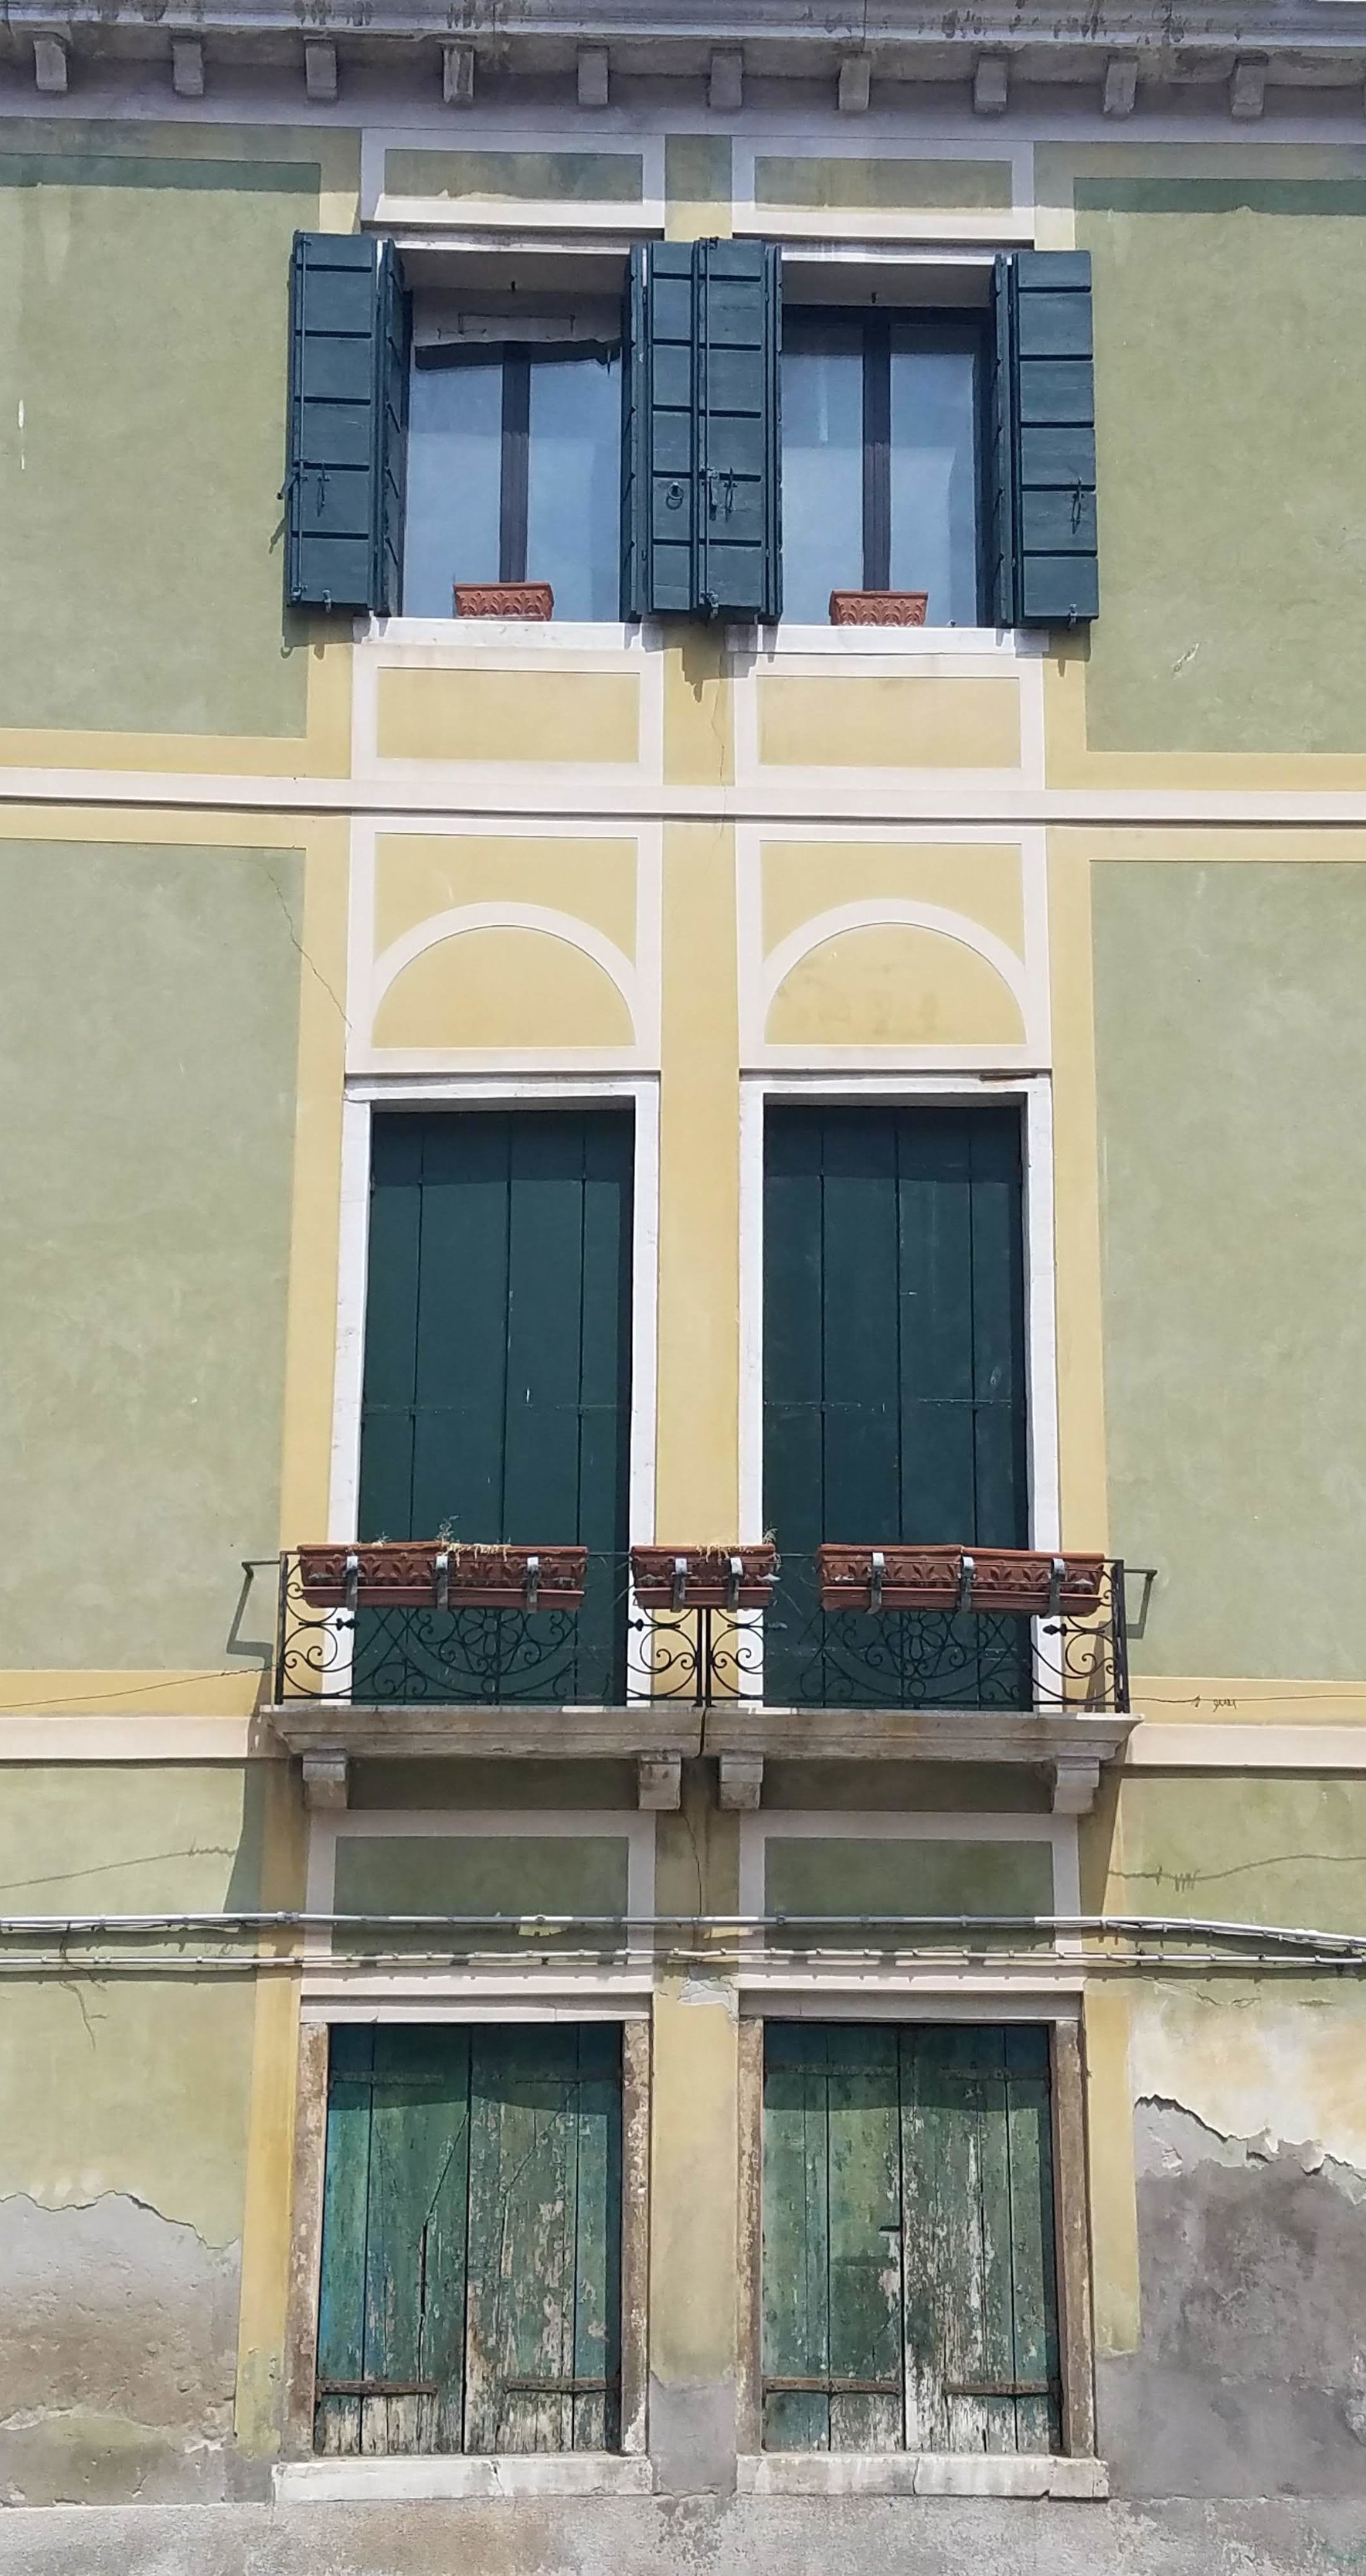
And it's not just places I've grown up or lived in, but also new places I come across as I travel.  I'm always hesitant to share pictures from trips I've taken because they all seem to be of the exteriors of old buildings, old doors, windows, or even the floors where I've stood which would probably bore most.  But to me, they're visual reminders of that place, how I felt at that moment, the conversation I was having, even the sounds around me.  These little parts of the bigger whole--the doors, the windows, the walls, the floors--all help tell the history and story of that place.  

The "h" in h.made doesn't just mean "Hudson," (which is why it's not a capital H).  h.made also means homemade, handmade, even history made, and the clay tiles that I make are a way I can share stories.  There's a quote from a Garden & Gun article (May 2016) that completely resonates with me, and the writer says, "It's such a southern thing to wretch beauty out of age, to resuscitate ruin, to long for pretty like oxygen, and to want to share that pretty with as many people as possible."  If I knew the author of this article, I would ask them if they would loan me this quote to be my mission statement!  Basically, I have these images of places, they tell my story, I need to make and paint them, and I want to share them with you.      

Exterior wall of Canterbury Cathedral, June 2016

Exterior wall of Canterbury Cathedral, June 2016